How to record a phone conversation
Recording phone conversations can help you capture important details, improve communication accuracy, and maintain reliable records for business or personal use. This guide explains multiple ways to record calls on an iPhone, including built-in iOS call recording, using a secondary device, and third-party recording applications. It also explores how ContactsFlow™ can transform recorded conversations into organized contact records, helping users save time and reduce manual data entry. Additionally, the article covers legal considerations and best practices for securely managing call recordings.
Learn how to record phone conversations using built-in iPhone call recording features.
Discover alternative recording methods using a second device.
Explore third-party call recording applications and their benefits.
Understand how ContactsFlow™ converts recorded conversations into structured contact records.
Follow best practices for legal compliance, consent, secure storage, and organization of recordings.
Improve productivity by reducing manual note-taking and contact management.


Introduction
Have you ever ended an important phone call and wished you could listen to it again?
Whether you're talking with a client, receiving directions from a supplier, attending an interview, or discussing a project with a colleague, having a recording can be incredibly helpful.
Recording a phone conversation can help you avoid misunderstandings and keep accurate records.
Before recording any call, make sure you comply with the laws and regulations in your country or region.
In many places, informing the other participant and obtaining consent may be required.
In this guide, we'll show several ways to record a phone conversation using your iPhone and other tools.
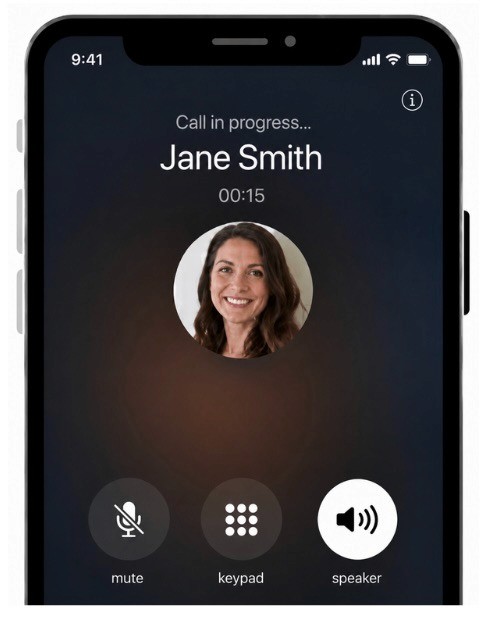
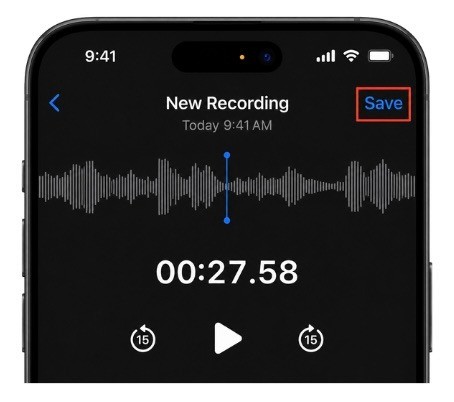
1. Use Call Recording Built Into Your iPhone
Start or Answer a Phone Call using your iPhone.
Tap the Call Recording Button; as of IOS 18.1 and later call recording is available on IPhone XS and newer, this feature is available in the United States, United Kingdom, India and most countries in Asia and Latin America.
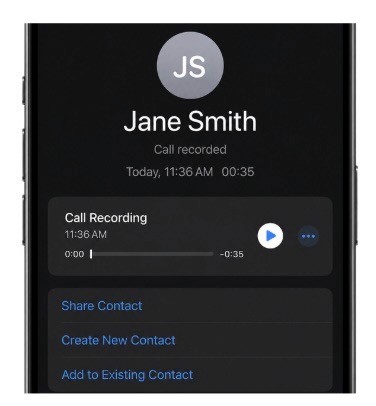
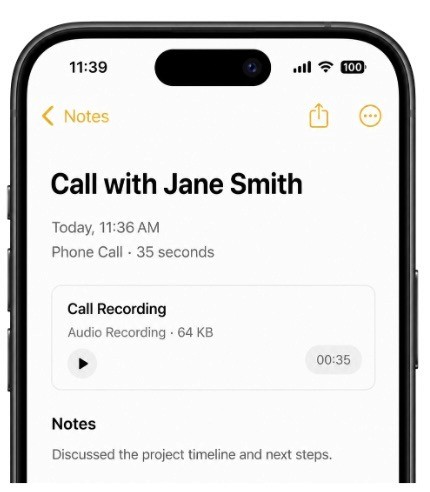
End the call and the recording will automatically be saved.
Access Your Recording by opening the Notes app, and locate the saved recording attached to the call note.
 |  |
|
|
 |  |
|
|
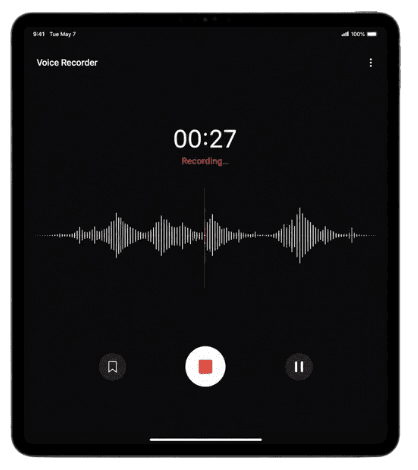
2. Record a Phone Conversation Using Another Device
If call recording is unavailable on your phone, you can use a second device.
Put the Call on Speaker
Use a Second Device to Record such as another smartphone, tablet, computer, or digital recorder placed nearby.
Save the Recording for future reference
 |  |
|
|
 | |
|
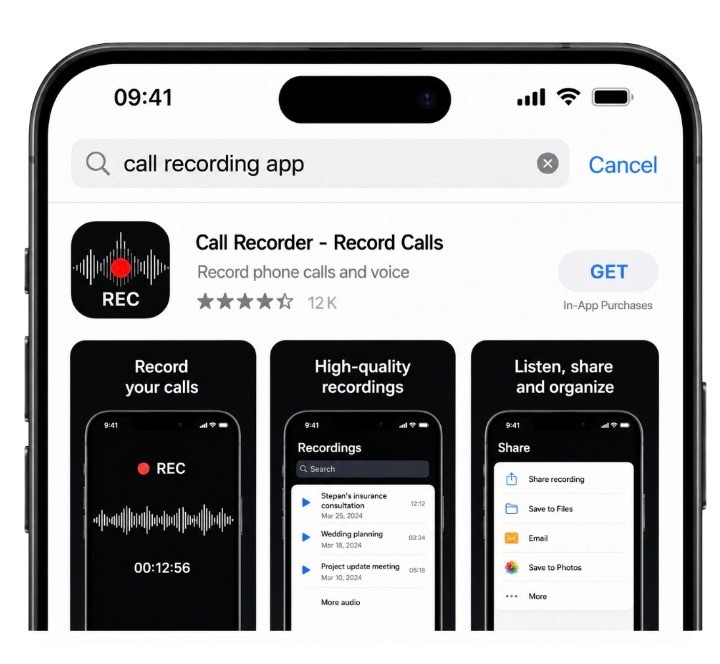
3. Use a Third-Party Call Recording Application
Several applications offer call recording services through conference-call technology or cloud recording.
Download a call recording application from your device's app store.
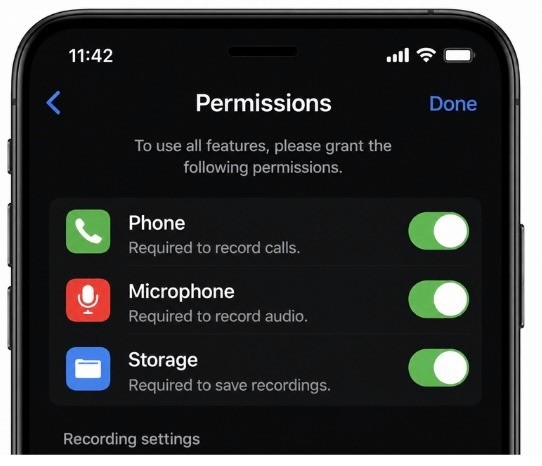
Grant the required permissions and configure the application
Follow the app's instructions to start recording before or during the conversation.
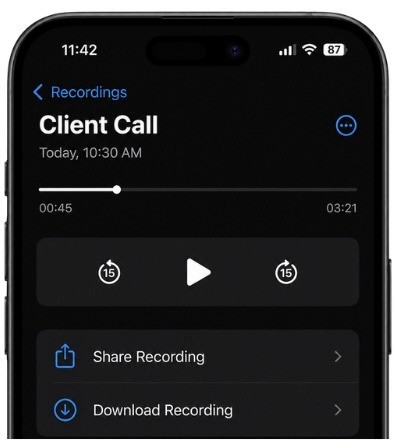
Review and Export the Recording, most apps allow you to replay, download, or share recordings.
 |  |
|
|
 |  |
|
|
4. Turn Phone Conversations Into Contact Information Automatically
Recording a conversation is useful, but what happens afterward?
Many people still manually type notes, names, phone numbers, email addresses, and follow-up actions into their contacts.
This is where ContactsFlow™ can help.
Once your conversation has been recorded, you can use ContactsFlow™ to turn the recording into a complete contact record without manually typing notes.
Open the ContactsFlow™ app on your IPhone and sign in with your google account.
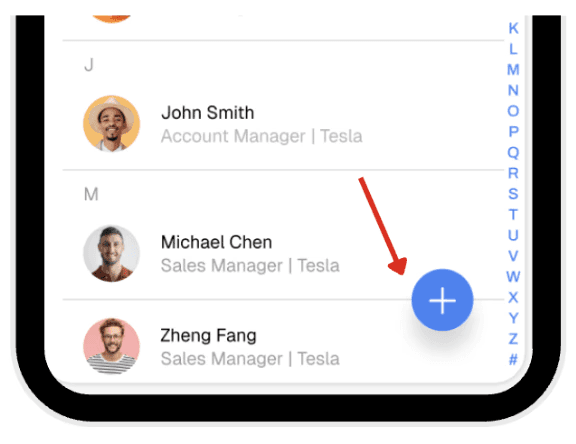
Tap the + label on the bottom right corner and tap “add new contact”
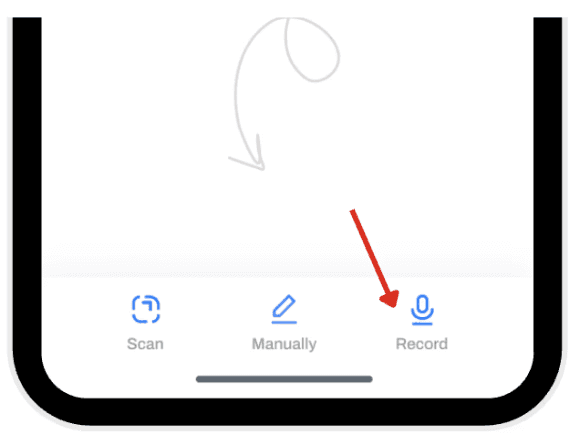
Tap “record” and press allow to give the app permission to access your microphone
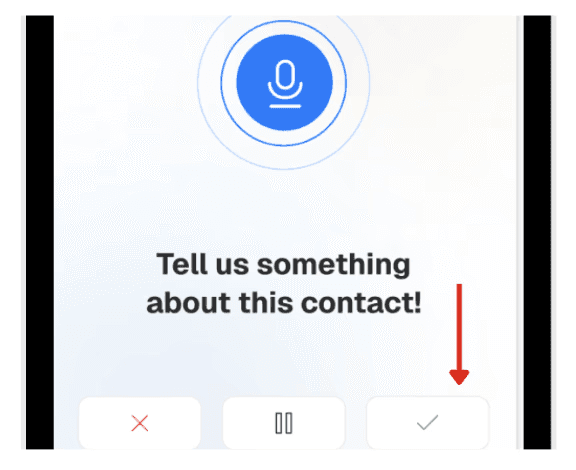
Record the conversation, the system converts your speech to text and click the tick icon to confirm
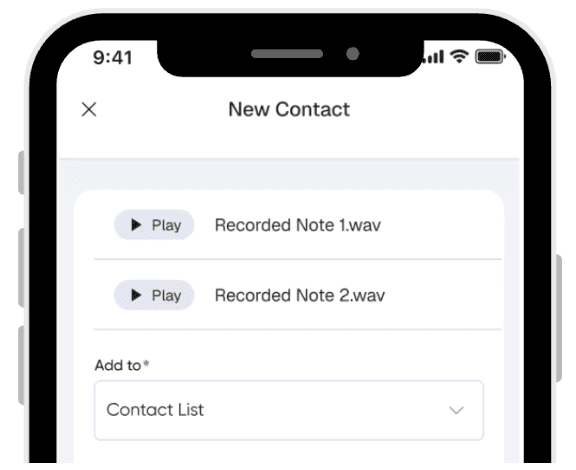
Your voice recording will appear and to add to the section, select your preferred contact list.
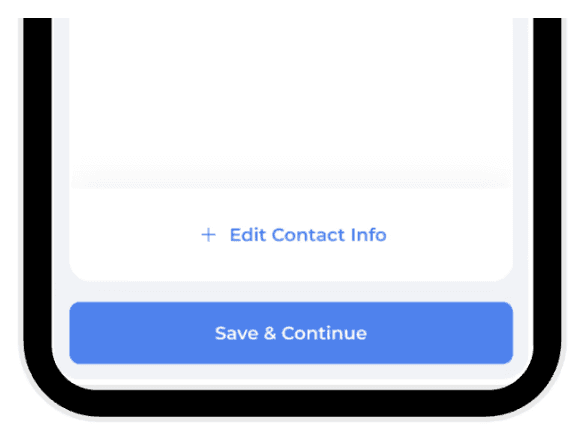
Press save and continue.
Your new contact is now created!
 |  |
| 2. Tap the + label on the bottom right corner and tap “add new contact” |
 |  |
3. Tap “record” and press allow to give the app permission to access your microphone | 4. Record the conversation, the system converts your speech to text and click the tick icon to confirm |
 |  |
5. Your voice recording will appear. In the add to section select your preferred contact list. | 6. Press save and continue. |
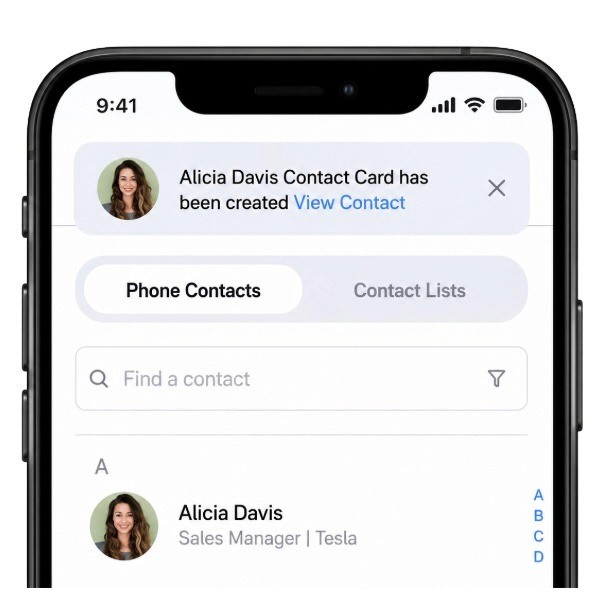 | |
7. Your new contact is now created |
5. Best Practices for Recording Phone Conversations
Always Obtain Consent: Make sure all participants are aware of the recording if required by local laws.
Store Recordings Securely: Keep recordings in a secure location and restrict access when necessary.
Organize Your Recordings: Use descriptive file names and folders to make recordings easy to find later.
Conclusion
Recording phone conversations can help you capture important information, avoid misunderstandings, and keep accurate records.
Whether you use your iPhone's built-in recording features, a second device, or a dedicated recording app, the key is making sure valuable information doesn't get lost.
For even greater productivity, tools like ContactsFlow™ can help transform conversations into structured contact records, reducing manual data entry and helping you keep your contact database up to date.
Leave a comment :
No comments yet. Be the first!


